

When this month's challenge was announced I was super excited! I don't know how many times I've asked my "authentic" Italian friends, "How do you make cannoli shells?" I think Lisa must have tied down an Italian Nana or an Italian government official somewhere to get this recipe .... I've always imagined it was a state secret ... but alas! Lisa shared it with the Daring Bakers, and now I'm sharing it with you!
Canoli are one of those things that if it's on the menu, I have a hard time passing up. I've had some really good ones, some ok ones and some that I wish I could go for a swim with...you know, in the cream with a bucket of shells (heaven!) 'til I explode from eating too many. So...I eagerly started this challenge.
It all starts with the dough. I didn't remember to take pictures of assembling the dough, but it's pretty much dump and mix with a dough hook in the trusty Kitchen Aid. What you get when you're done is a yummy smelling ball of dough.

The next thing is draining the ricotta cheese (and the pumpkin, if using the pumpkin filling). I don't have a fancy way to do this so I just made up a system...it seems to work well. I let this contraption, along with the dough, sit in the refrigerator overnight.

The next day, I mixed up the filling. Again, my brain wasn't attached and I didn't take any photos. But, much like the dough, it was pretty much just dump and mix (with the paddle) for both of the fillings (I only make half of the "traditional" filling...it still made a lot!)
After the filling was made I got busy rolling out the dough for the shells. This dough was a lot like the dough for the strudel I made...very stretchy and hard to get to stay in place. It took some working but I finally got it very thin. I wanted to make 5" shells...so I hunted through the house for something that would work for me to easily cut 5" circles. An old CD (sorry AOL!) and a pizza cutter worked perfectly after I disinfected the CD.

The next step is to put the circles on the cannoli forms. I don't have pictures of this, but not because I forgot...but because goopy hands with egg whites and oil don't mix too well with my camera. :-) It wasn't a difficult process. I did learn along with way though that letting them dry for a bit helps them stay together. It's mentioned in the instructions, but let them sit a bit longer than you may think (5 minutes?). I found they stayed together better and actually fried better as well. Frying time...I used the 2 minutes as recommended and it seemed to work well.

Once fried you let them drain on a paper towel. Make sure to have them tilted a bit so any remaining oil drains out of the tubes. I let one drain while I fried the next one and then removed the tube from the first one. BE CAREFUL!! The tubes are very hot, as are the shells. I had to use my tongs on a few of the more stubborn ones. Also be gentle with them as they are a bit delicate at this stage. (In the photo below you can also see one waiting to be fried, on the left.)

Once the frying was done and they shells had cooled I got out my fillings. I chopped up some pistachios and pecans and got out my mini-chocolate chips. I was ready for filling the shells and tasting these delightful treats. Filling was very easy...though it didn't look as smooth and creamy as some cannoli I've had. Here they are....the glamour shot:

So you know what's what: On the top is the pumpkin filling with pecans, the middle has one pumpkin filled (far) and one traditional filled (close) with pistachio nuts, and on the bottom is one traditional filled (left) and one pumpkin filled (right) with mini-chocolate chips.
So...how did they taste you ask?!

Very good! My heart will always fall for the traditional filling with chocolate chips, but all of the varieties were good. I'm not swimming with these yet, but the shells were crispy and tasted the way shells should, so I think it's a matter of perfecting the fillings...that part should be easy (I don't think it's a state secret!).
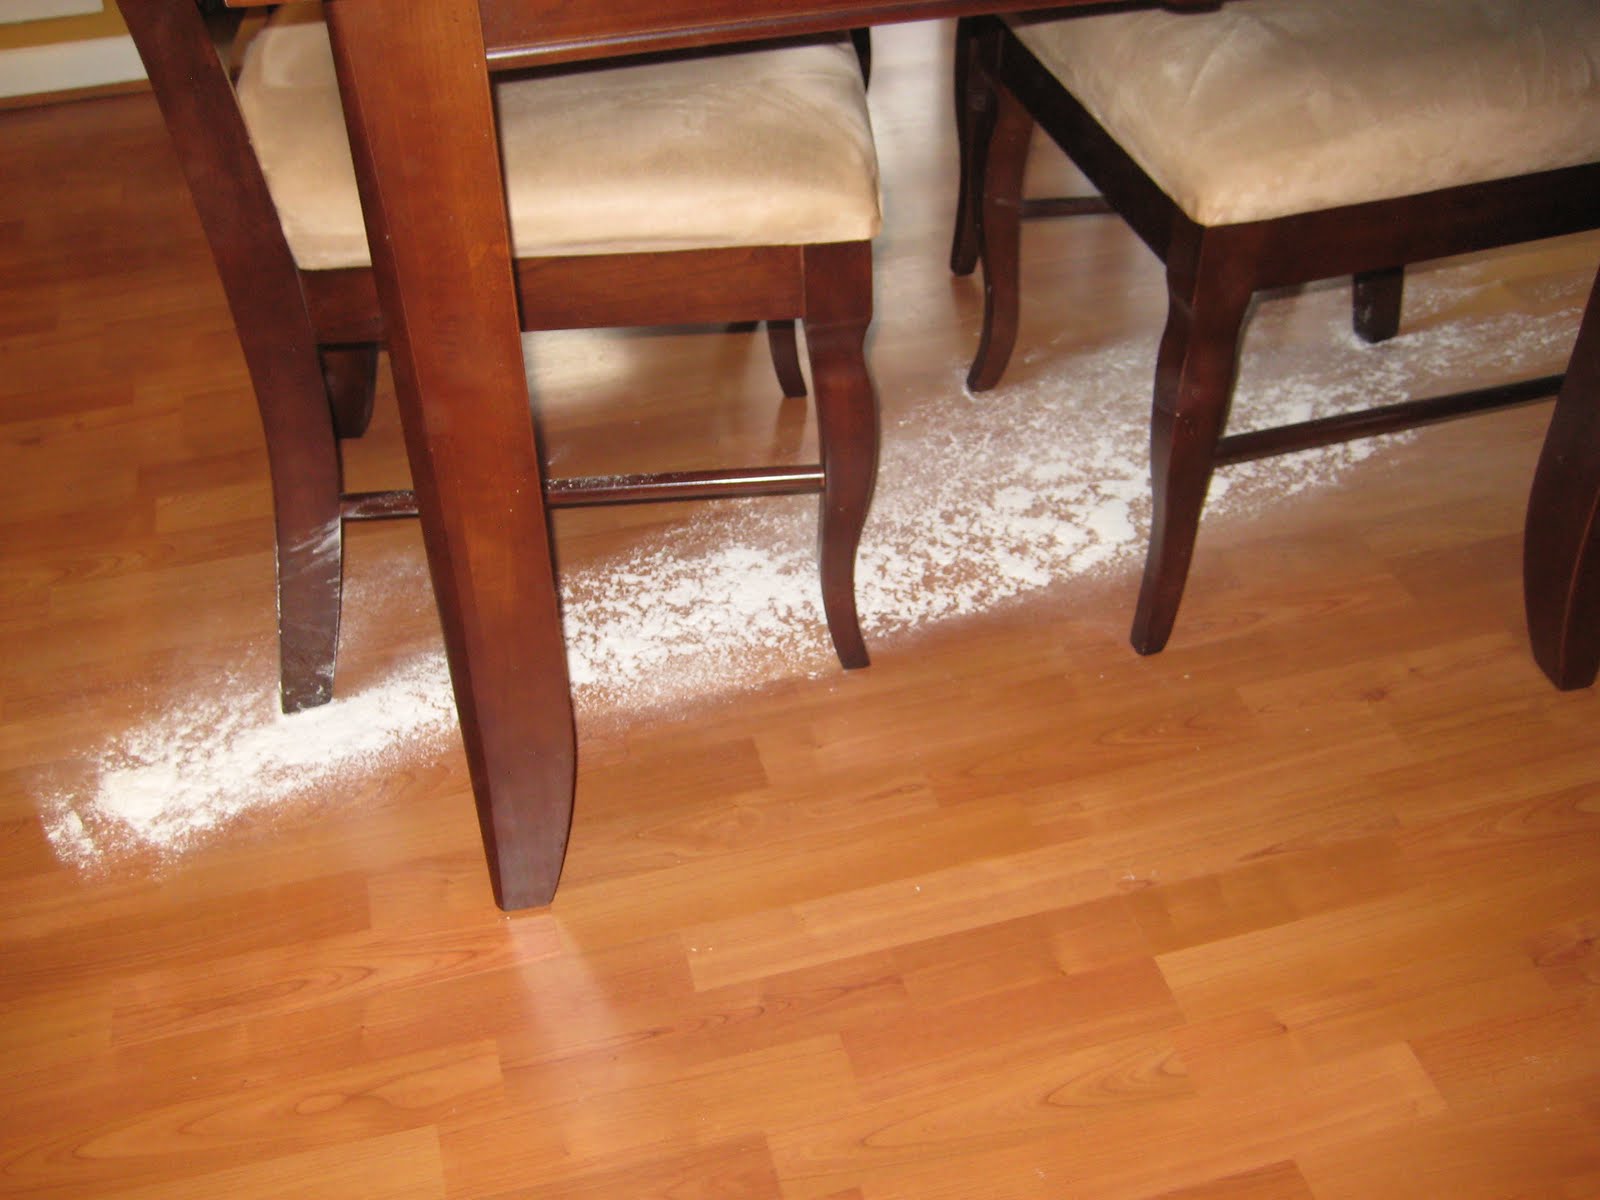
By the way...a Public Service Announcement... When you are rolling dough on your kitchen table, don't set the tub of flour too close to you. It's a mess to clean up if it gets knocked over....
Happy Thanksgiving Everyone! I'm blessed to have you as a part of my life!
The Recipe: Canoli
From The Daring Bakers
Prep time:
Dough – 2 hours and 10-20 minutes, including resting time, and depending on whether you do it by hand or machine.
Filling – 5-10 minutes plus chilling time (about 2 hours or more)
Frying – 1-2 minutes per cannoli
Assemble – 20–30 minutes
Equipment Needed:
- Cannoli forms/tubes - optional, but recommended if making traditional shaped cannoli.
- Deep, heavy saucepan, enough to hold at least 2-3-inches of oil or deep fryer
- Deep fat frying thermometer
- Metal tongs
- Brass or wire skimmer OR large slotted spoon
- Pastry bag with large star or plain tip, but a snipped ziplock bag will work fine
- Cooling rack
- Paper bags or paper towels
- Pastry Brush
- Cheesecloth Sieve or fine wire mesh strainer
- Electric Mixer, stand or hand, optional, as mixing the filling with a spoon is fine.
- Food Processor or Stand Mixer – also optional, since you can make the dough by hand
- Rolling pin and/or Pasta roller/machine
- Pastry or cutting board
- Round cutters (Or use my method of a CD with Pizza Cutter!)
- Mixing bowl and wooden spoon if mixing filling by hand
- Plastic Wrap/Clingfilm
- Tea towels or just cloth towels
2 cups (250 grams/16 ounces) all-purpose flour
2 tablespoons (28 grams/1 ounce) sugar
1 teaspoon (5 grams/0.06 ounces) unsweetened baking cocoa powder
1/2 teaspoon (1.15 grams/0.04 ounces) ground cinnamon
1/2 teaspoon (approx. 3 grams/0.11 ounces) salt
3 tablespoons (42 grams/1.5 ounces) vegetable or olive oil
1 teaspoon (5 grams/0.18 ounces) white wine vinegar
Approximately 1/2 cup (approx. 59 grams/approx. 4 fluid ounces/approx. 125 ml) sweet Marsala or any white or red wine you have on hand
1 large egg, separated (you will need the egg white but not the yolk)
Vegetable or any neutral oil for frying – about 2 quarts (8 cups/approx. 2 litres)
1/2 cup (approx. 62 grams/2 ounces) toasted, chopped pistachio nuts, mini chocolate chips/grated chocolate and/or candied or plain zests, fruits etc.. for garnish
Confectioners' sugar
1. In the bowl of an electric stand mixer or food processor, combine the flour, sugar, cocoa, cinnamon, and salt. Stir in the oil, vinegar, and enough of the wine to make a soft dough. Turn the dough out onto a lightly floured surface and knead until smooth and well blended, about 2 minutes. Shape the dough into a ball. Cover with plastic wrap and let rest in the fridge from 2 hours to overnight.
2. Cut the dough into two pieces. Keep the remaining dough covered while you work. Lightly flour a large cutting or pastry board and roll the dough until super thin, about 1/16 to 1/8” thick (An area of about 13 inches by 18 inches should give you that). Cut out 3 to 5-inch circles (3-inch – small/medium; 4-inch – medium/large; 5-inch;- large. Your choice). Roll the cut out circle into an oval, rolling it larger and thinner if it’s shrunk a little.
3. Oil the outside of the cannoli tubes (You only have to do this once, as the oil from the deep fry will keep them well, uhh, oiled..lol). Roll a dough oval from the long side (If square, position like a diamond, and place tube/form on the corner closest to you, then roll) around each tube/form and dab a little egg white on the dough where the edges overlap. (Avoid getting egg white on the tube, or the pastry will stick to it.) Press well to seal. Set aside to let the egg white seal dry a little.
4. In a deep heavy saucepan, pour enough oil to reach a depth of 3 inches, or if using an electric deep-fryer, follow the manufacturer's directions. Heat the oil to 375°F (190 °C) on a deep fry thermometer, or until a small piece of the dough or bread cube placed in the oil sizzles and browns in 1 minute. Have ready a tray or sheet pan lined with paper towels or paper bags.
5. Carefully lower a few of the cannoli tubes into the hot oil. Do not crowd the pan. Fry the shells until golden, about 2 minutes, turning them so that they brown evenly.
6. Lift a cannoli tube with a wire skimmer or large slotted spoon, out of the oil. Using tongs, grasp the cannoli tube at one end. Very carefully remove the cannoli tube with the open sides straight up and down so that the oil flows back into the pan. Place the tube on paper towels or bags to drain. Repeat with the remaining tubes. While they are still hot, grasp the tubes with a potholder and pull the cannoli shells off the tubes with a pair of tongs, or with your hand protected by an oven mitt or towel. Let the shells cool completely on the paper towels. Place shells on cooling rack until ready to fill.
7. Repeat making and frying the shells with the remaining dough. If you are reusing the cannoli tubes, let them cool before wrapping them in the dough.
CANNOLI FILLING
2 lbs (approx. 3.5 cups/approx. 1 kg/32 ounces) ricotta cheese, drained
1 2/3 cups cup (160 grams/6 ounces) confectioner’s sugar, (more or less, depending on how sweet you want it), sifted
1/2 teaspoon (1.15 grams/0.04 ounces) ground cinnamon
1 teaspoon (4 grams/0.15 ounces) pure vanilla extract or the beans from one vanilla bean
3 tablespoons (approx. 28 grams/approx. 1 ounce) finely chopped good quality chocolate of your choice
2 tablespoons (12 grams/0.42 ounces) of finely chopped, candied orange peel, or the grated zest of one small to medium orange
3 tablespoons (23 grams/0.81 ounce) toasted, finely chopped pistachios
Note - If you want chocolate ricotta filling, add a few tablespoons of dark, unsweetened cocoa powder to the above recipe, and thin it out with a few drops of warm water if too thick to pipe.
1. Line a strainer with cheesecloth. Place the ricotta in the strainer over a bowl, and cover with plastic wrap and a towel. Weight it down with a heavy can, and let the ricotta drain in the refrigerator for several hours to overnight.
2. In a bowl with electric mixer, beat ricotta until smooth and creamy. Beat in confectioner’s sugar, cinnamon, vanilla and blend until smooth. Transfer to another bowl and stir in chocolate, zest and nuts. Chill until firm.(The filling can be made up to 24 hours prior to filling the shells. Just cover and keep refrigerated).
PUMPKIN FILLING
1/2 cup (123 grams/4.34 ounces) ricotta cheese, drained
1/2 cup (113 grams/4.04 ounces) mascarpone cheese
1/2 cup (122.5 grams/4.32 ounces) canned pumpkin, drained like ricotta
3/4 cup (75 grams/2.65 ounces) confectioner’s sugar, sifted
1/2 to 1 teaspoon (approx. 1.7 grams/approx. 0.06 ounces) pumpkin pie spice (taste)
1/2 teaspoon (approx. 2 grams/approx. 0.08 ounces) pure vanilla extract
1. In a bowl with electric mixer, beat ricotta and mascarpone until smooth and creamy. Beat in confectioner’s sugar, pumpkin, pumpkin pie spice, vanilla and blend until smooth. Transfer to another bowl, cover and chill until it firms up a bit. (The filling can be made up to 24 hours prior to filling the shells. Just cover and keep refrigerated).
2. Fill the shells as directed above. I dipped the ends of the shells in caramelized sugar and rolled them in toasted, chopped pecans
1. When ready to serve..fill a pastry bag fitted with a 1/2-inch plain or star tip, or a ziplock bag, with the ricotta cream. If using a ziplock bag, cut about 1/2 inch off one corner. Insert the tip in the cannoli shell and squeeze gently until the shell is half filled. Turn the shell and fill the other side. You can also use a teaspoon to do this, although it’s messier and will take longer.
2. Press or dip cannoli in chopped pistachios, grated chocolate/mini chocolate chips, candied fruit or zest into the cream at each end. Dust with confectioner’s sugar and/or drizzles of melted chocolate if desired.
TIPS AND NOTES:
- Dough must be stiff and well kneaded.
- Rolling the dough to paper thinness, using either a rolling pin or pasta machine, is very important. If the dough is not rolled thin enough, it will not blister, and good cannoli should have a blistered surface.
- Initially, this dough is VERY stubborn, but keep rolling, it eventually gives in. Before cutting the shapes, let the dough rest a bit, covered, as it tends to spring back into a smaller shapes once cut. Then again, you can also roll circles larger after they’re cut, and/or into ovals, which gives you more space for filling.
- Your basic set of round cutters usually doesn’t contain a 5-inch cutter. Try a plastic container top, bowl etc, or just roll each circle to 5 inches. There will always be something in your kitchen that’s round and 5-inches if you want large cannoli.
- Oil should be at least 3 inches deep and hot – 360°F-375°F, or you’ll end up with greasy shells. I prefer 350°F - 360°F because I felt the shells darkened too quickly at 375°F.
- If using the cannoli forms, when you drop the dough on the form into the oil, they tend to sink to the bottom, resulting in one side darkening more. Use a slotted spoon or skimmer to gently lift and roll them while frying.
- DO NOT crowd the pan. Cannoli should be fried 2-4 at a time, depending on the width of your saucepan or deep fryer. Turn them once, and lift them out gently with a slotted spoon/wire skimmer and tongs. Just use a wire strainer or slotted spoon for flat cannoli shapes.
- When the cannoli turns light brown - uniform in color, watch it closely or remove it. If it’s already a deep brown when you remove it, you might end up with a really dark or slightly burnt shell.
- Depending on how much scrap you have left after cutting out all of your cannoli shapes, you can either fry them up and sprinkle with confectioner’s sugar for a crispy treat, or let the scraps rest under plastic wrap and a towel, then re-roll and cut more cannoli shapes.
- Push forms out of cannoli very gently, being careful not to break the shells as they are very delicate. DO NOT let the cannoli cool on the form, or you may never get it off without it breaking. Try to take it off while still hot. Hold it with a cloth in the center, and push the form out with a butter knife or the back of a spoon.
- When adding the confectioner’s sugar to the filling..TASTE. You may like it sweeter than what the recipe calls for, or less sweet, so add in increments.
- Fill cannoli right before serving! If you fill them an hour or so prior, you’ll end up with soggy cannoli shells.
- If you want to prepare the shells ahead of time, store them in an airtight container, then re-crisp in a 350°F (176 °C) oven for a few minutes, before filling.
- Practice makes perfect. My first batch of shells came out less than spectacular, and that’s an understatement. As you go along, you’ll see what will make them more aesthetically pleasing, and adjust accordingly when rolling. My next several batches turned out great. Don’t give up!!
Christina
Using the CD is so clever and the final cannoli are so delicious looking well done and beautiful photographs. Cheers from Audax in Australia.
ReplyDeleteNice cannoli! Great idea with the CD!
ReplyDeletePerfect blistery shells, yummy pumpkin and traditional plus pistachio filling, and a CD used to cut the circles out. I love it! You really kicked booty on this challenge. Thanks so much for deep frying with me this month!
ReplyDeleteI <3 cannoli! But, I'll pass on the shells... just send over the filling and we'll call it a day! Loves me some ricotta... mmmm, mmmm, mmmm!
ReplyDelete